The roofing of your house is tearing off the old, faded roof. It’s essential to remove roof shingles, all the shingles, nails, flashing, and dirt and only have a nice flat surface on the top. Here is a step-by-step instruction on obliterating the roofs efficiently and safely.
When To Replace Roofs?
Leaks are one of the obvious signs that you need to reroof your house. Of course, you want to know when to replace it before the leakage happens. The lifespan of asphalt shingles is more than years. Depending on the weather and the location you live.
If you’ve noticed the shingles are cracked or curled up, it’s about time to replace them with new ones. Buckling shingles are a sign that moisture is getting inside the underlayment. So, check your roofs once in a while to see whether they are in good condition.
Equipment you need:
- Adjustable roof jacks
- Broom magnet
- Cat’s paw
- Garden fork or roofing shovel
- Hammer
- Hammer tacker Chalk line
- Trash container, a 10-cu-yd. siz
- Extension ladder
- Pry bar
- Push broom
- Roof harness
- Safety glasses
- Work gloves
- #30 roofing felt
- Ice and water barrier
Preparation On The Ground
Set up the ground where you can grab your tools and equipment efficiently and throw away all the pieces of shingles when you come down using the ladder. You can consider renting a trash container carrying most of the roofs.
For safety purposes, nail the roof jackets below the area you plan to tear off first. Space the coat no more than 4ft apart and fix it to the rafters with at least three 16d nails through the roof sheathing and then nail on a 2×10 to prevent you from sliding off the roof.
If your home is starting to show its age, it may be time to replace the roof. But before you start tearing off those old shingles, there are a few things you need to do to prepare. Here’s how to remove roof shingles and prepare your home for a new roof.
Start by removing any loose or damaged shingles. Use a pry bar to gently lift the shingle and pull it away from the nail. Once the loose shingles are removed, use a putty knife to scrape away any old caulk or sealant around the roof’s edges.
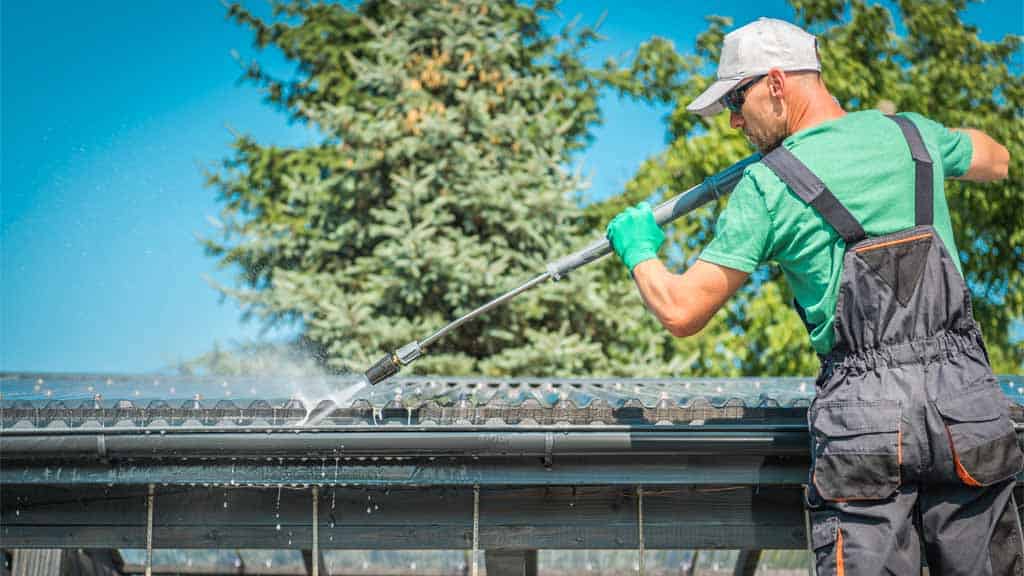
Next, use a power washer or garden hose to remove roof shingles dirt or debris from the roof’s surface. This will help ensure that the new shingles adhere properly.
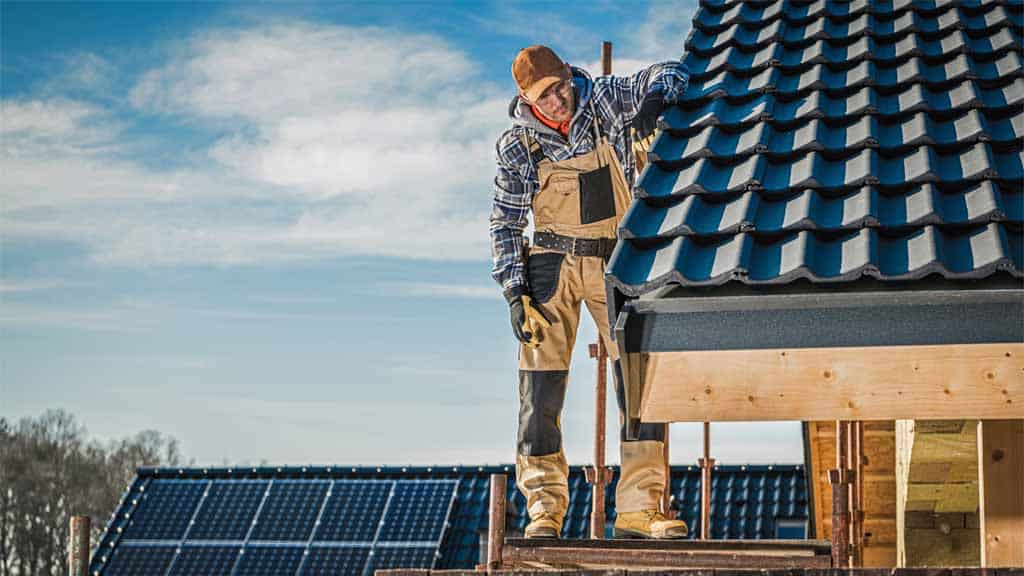
Gear up with safety tools
Ensure a safety harness, line, and anchor to fasten it on the roof peak. Wear slip-resistant rubber shoes, long pants and sleeves to protect your skin from scratching, work gloves, and safety glasses.
There are few things more important than safety when working on your home. Here are some critical tips on how to remove roof shingles safely.
Before starting any work on your roof, ensure you have the proper safety gear. This includes a sturdy ladder, gloves, and eye protection. Having someone around to help spot you while you’re working is also a good idea.
To remove the old shingles:
- Please start at the roof’s edge and pry them up with a crowbar or similar tool.
- Be careful not to damage the underlying felt or tar paper underlying layer.
- Once all the shingles are removed, sweep away any debris before installing the new ones.
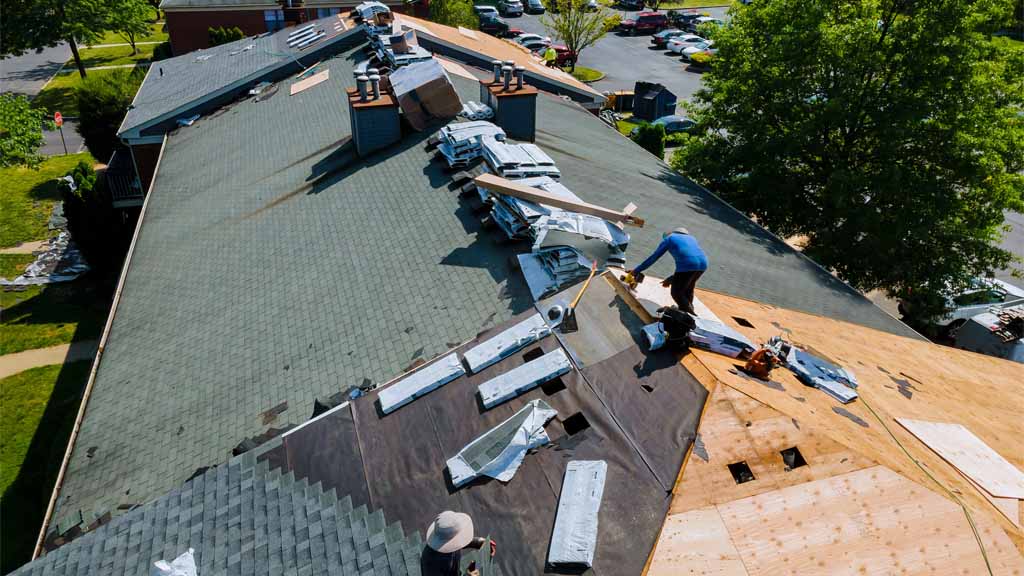
Start From The Peak
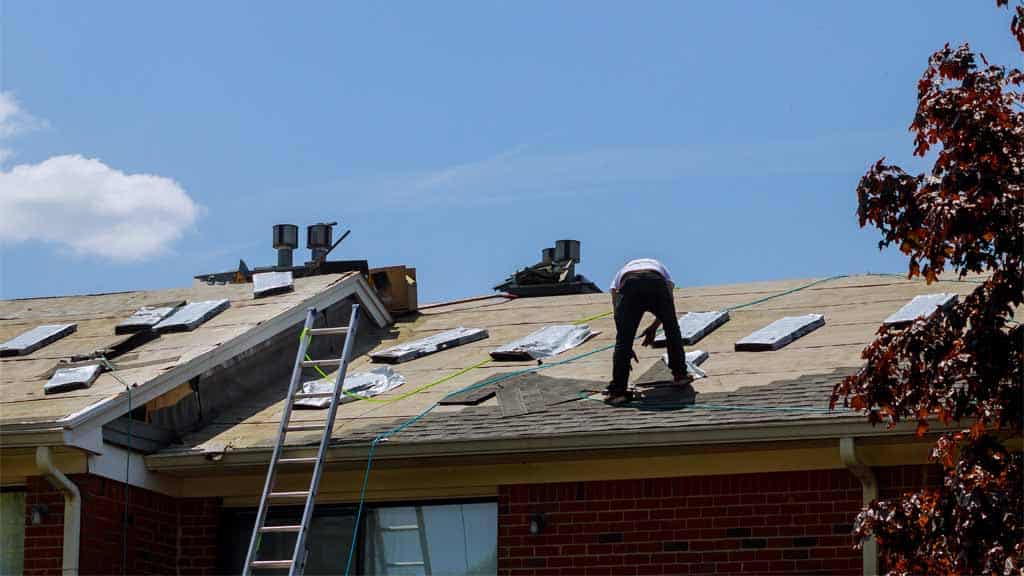
Once you are geared up with safety tools and have everything prepared on the ground, start from the farthest peak part of the trash container. Stand at the peak and tear off the ridge caps and the top courses of shingles using a garden fork.
A garden fork is an excellent tool because it doesn’t get caught on nails, making the process faster. From there, tear off the shingles going downwards. Once the pile of shingles gets loose, it will start sliding off and down to the roof jacks. Continue to do so until the scaffolding board is full of shingles.
Assuming you would like tips on how to remove roof shingles. Knowing how to remove roof shingles is essential, especially if you live in an area prone to severe weather conditions. Severe weather can cause damage to your roof and make it necessary to replace damaged or missing shingles.
The process of how to remove roof shingles is not tricky, but it does require some safety precautions. Before beginning the job, wear gloves and safety glasses to protect your hands and eyes from debris.
Next, use a pry bar or flat-head screwdriver to loosen the nails holding the damaged or missing shingle in place. Once the pins are reduced, you can remove the shingle by gently pulling it away from the rest of the roof.
Roof-to-Trash Container
Carry the pile of shingles to the edge of the roof and toss it in the trash container. Take your time to carry the shingles little by little so you don’t do too much heavy lifting.
It’s essential to know how to remove roof shingles properly, whether you’re doing it for a repair or replacement. This guide will show you the steps you need to take to get the job done right.
Start by removing the cap shingles at the edge of the roof. Then, working your way from the bottom up, use a pry bar to loosen and remove each row of shingles. Be careful not to damage the underlying felt paper or sheathing as you work.
Once all the shingles are removed, inspect the felt paper and sheathing for any damage. Make any necessary repairs before proceeding with installing new shingles.
With proper preparation and care, removing roof shingles is a relatively easy task for most homeowners.
Check The Condition Of The Flashing And Work Around It
It is usually best to replace all the flashing; however, if the flashing is installed with complexity and is in good condition, it is okay to keep them and work around it. If you own the flashing, remove the nails around it using a pry bar. Also, altogether remove the shingles and underlayment around the flashing.
Assuming you want eight sentences in 2-3 paragraphs for an article entitled “Check the condition of flashing and work around it”
It’s essential to regularly check the condition of your roof’s flashing, as it can be susceptible to damage from weather and debris. If you notice any damage, it’s essential to take care immediately to avoid further damage. Here are a few tips on how to remove roof shingles and repair flashing.
Start by removing the damaged shingles, then pry off the nails with a claw hammer or screwdriver. Be careful not to damage the surrounding shingles. Once the pins are removed, you can pull off the flashing. Inspect the area for additional damage, then clean off any dirt or debris. Use galvanized nails or screws and sealant designed for roofs.
Remove Shingles On The Edges Of The Roof.
Once you’ve thrown the shingles into the trash container, it is time to remove the roof jacks and work on the roof’s edges. Just like how you did, using a fork, go downward, tearing off the shingles. Make sure to remove the ice barriers if there are any on the roof.
If your home has asphalt shingles, you may need to remove shingles on the edges of the roof. The following tips will help you do this safely and efficiently.
Start by removing the row of shingles above the one you want to remove. This will give you access to the nails holding the shingle in place. Use a pry bar or crowbar to remove the shingle, being careful not to damage the surrounding shingles.
Once the shingle is removed, use a putty knife to scrape off any old nails or adhesive. Repeat this process until all of the shingles on the edges of the roof have been removed. Once the shingles are off, inspect the underlying felt paper or sheathing for any damage.
Remove The Valley And Vent Flashing
Valley and vent flashing are not worth using again. Valley flashing is where all the rain, snow, and dirt pile up and slide down to the ground. One of the fastest things that fade and needs to be replaced.
Start at the top of the valley, use a fork and a flat bar to tear off till the bottom part of the valley comes off. Use a pry bar to remove the vent flashing.
Knowing how to remove roof shingles properly is essential to avoid damaging your roof. Here are a few tips on how to remove valley and vent flashing:
- First, use a utility knife to score the caulk around the valley or vent flashing.
- Next, use a putty knife or similar tool to pry up the flashing.
- Finally, use a hammer and nail to remove any remaining nails from the shingles.
Final cleaning of the roof
Almost done, but just a few more steps. All the flashing, shingles, nails, and underlayment should be thrown into the trash container. Now it’s time to broom off any leftover dirt.
The roof could be slippery, and there could be a few nails that you might’ve missed removing. Take your time and pull out any remaining nails, small parts of shingles, and dirt.
It’s that time of year again. The leaves have fallen, the snow is melting, and you can finally see your roof. Time to give it a good cleaning! Here are a few tips on how to remove roof shingles:
- Safety first! Always use a ladder when working on your roof.
- Use a putty knife or similar tool to pry up the shingles.
- Once the shingles are removed, sweep away debris with a broom or leaf blower.
- Inspect the area for any damage and make repairs as needed.
- Hiring a professional is an excellent option if you don’t feel comfortable doing it yourself. They’ll have the right equipment and experience to do the job safely and efficiently.
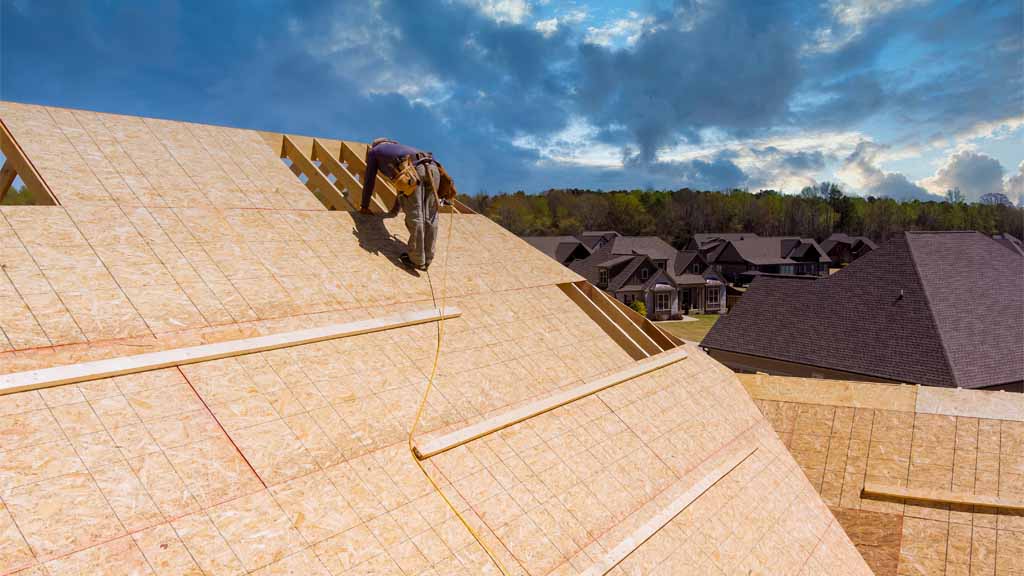
Protect The Roof Using The Ice And Water Barrier
Once everything is torn off, the roof is weak. Protecting the top from direct sunlight, rain, and snow is essential. Install ice and water barrier and 30lb asphalt-saturated felt. These work as temporary underlayments to prevent being damaged by the weather.
Start from the rake edge of the roof and align the barrier with a chalk line. Staple the top parts to hold them and finish the whole piece lining up the wall. Then, peel off the backing and put it back in place.
Removing old, damaged, or worn-out shingles is necessary to maintain your roof. It’s also an excellent opportunity to inspect the underlying roofing materials for any damage or wear.
To remove shingles:
- Start at the edge of the roof and work your way up.
- Use a pry bar to gently lift the shingle tab and pull it away from the nail.
- Be careful not to damage the surrounding shingles. Once the first tab is removed, you can easily remove the rest of the shingle by sliding it off of the nails.
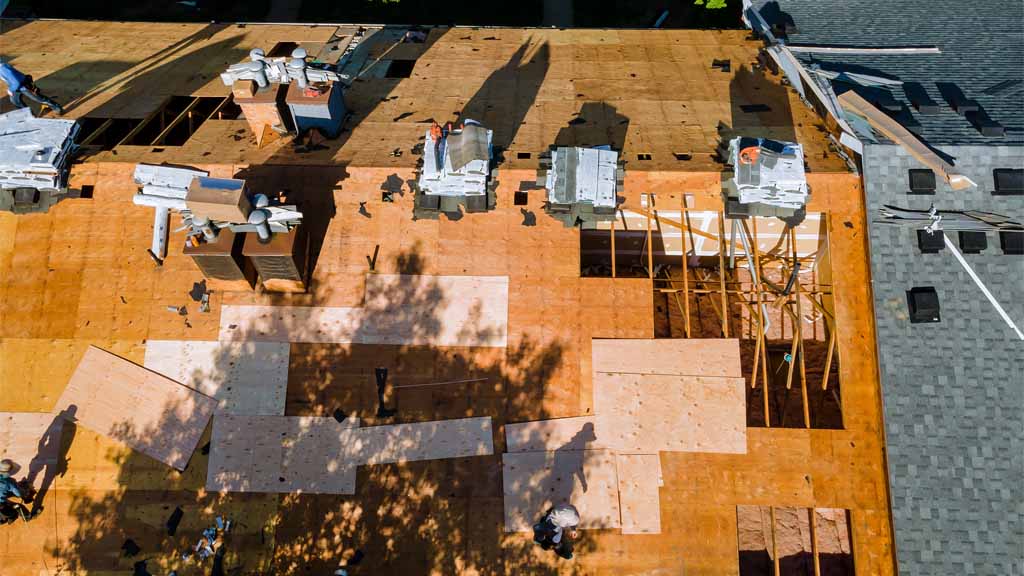
After the shingles are removed, inspect the roof deck for any signs of damage or rot. If necessary, repair or replace any damaged plywood before installing new shingles.
Cleanup Before Going Back To The Ground
Before you climb down to the ground, clean any debris out of the gutters. Make sure to remove any nails and small shingle parts because you don’t want them to slide off the roof the next time it rains. Broom the top multiple times.
The most important thing to remember when removing old shingles is to remove all the old parts to prevent them from sliding off the ground. Injuries are the last thing you want to happen. Immediately protect the roof once done with removals, and always have safety gears on.
It’s that time of year again when the weather starts to cool down, and the leaves begin to fall. And while you may be tempted to wait until everything has settled before starting your roof repairs, it’s best to do a minor cleanup beforehand.
Here’s how to remove roof shingles without damaging your roof or injuring yourself in the process. Safety first! Before you get started, make sure you have the proper safety gear.
That includes gloves, goggles, and a dust mask. You’ll also need a tall ladder to reach your roof and something soft (like an old towel) to lay down on the shingles, so you don’t damage them. Once you’re all geared up, it’s time to remove those old shingles.
Conclusion
Removing roof shingles is a quick and safe method that anyone can do. With the right tools and safety precautions, you can have your old shingles removed in no time. So don’t be afraid to tackle this project yourself, and stay safe.